How to Make Butterfinger Cake at Home
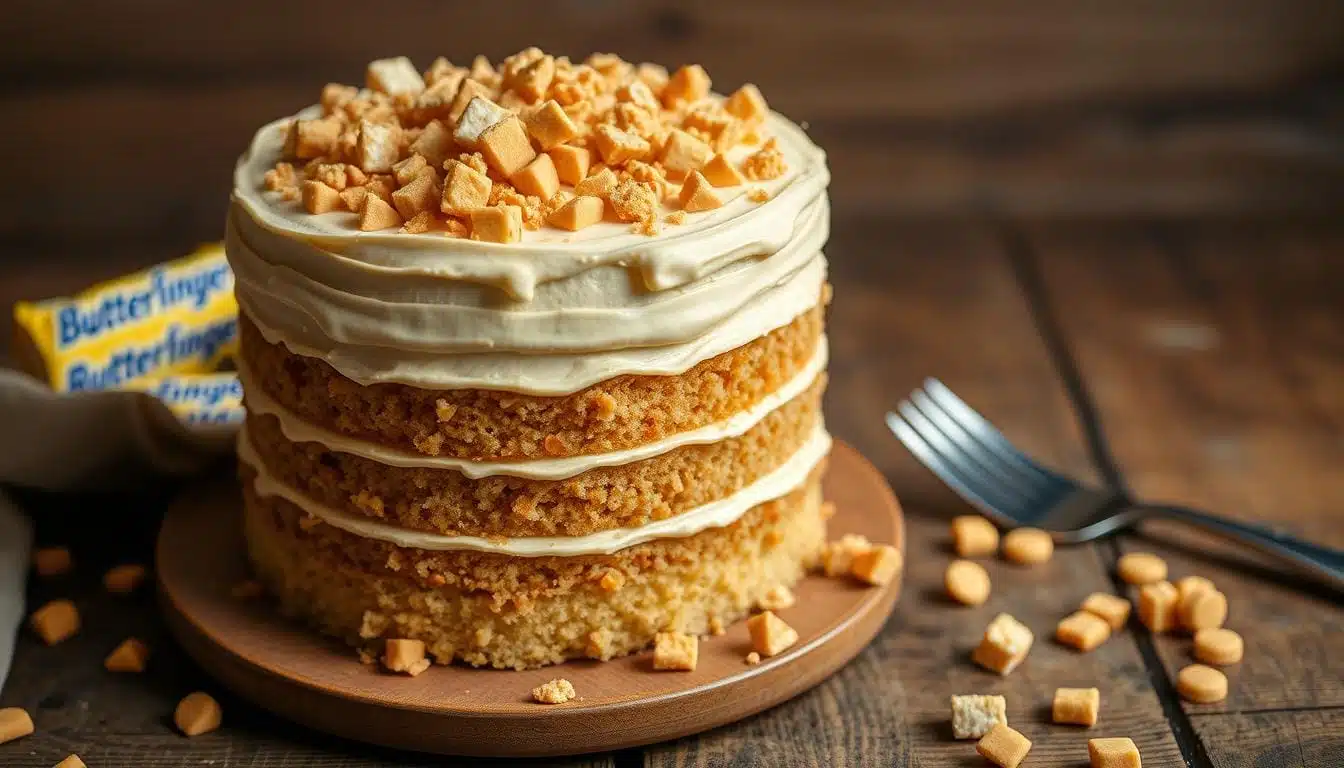
Indulge in the rich, decadent flavors of a homemade Butterfinger cake. It’s a sweet mix of chocolate, peanut butter, and the iconic crunch of Butterfinger candy bars. As a dessert lover, I’ve always adored this unique treat.
The velvety chocolate cake and creamy peanut butter frosting are amazing. The crunch of Butterfinger pieces adds a special touch. It’s a culinary experience like no other.
Table of Contents
Key Takeaways
- Discover the secret to making a delicious Butterfinger cake at home
- Learn about the origins and unique features of this beloved dessert
- Gather the essential ingredients and tools needed for a successful Butterfinger cake
- Understand the step-by-step process of preparing the cake batter, frosting, and assembling the final masterpiece
- Explore tips for storage and serving to ensure your Butterfinger cake remains fresh and visually appealing
What Makes Butterfinger Cake So Special
Butterfinger cake is a mix of flavors that excites people all over the world. It combines chocolate and peanut butter in a way that’s both sweet and crunchy. This makes it a favorite among dessert lovers.
The Perfect Blend of Chocolate and Peanut Butter
The magic of Butterfinger cake comes from its mix of chocolate and peanut butter. These two flavors work together perfectly. They create a dessert that’s both rich and creamy.
Origins of This Popular Dessert
Butterfinger cake started from the classic chocolate candy bar cake. This dessert has been loved for many years. Adding the Butterfinger candy bar made it even more special.
The love for peanut butter cake also helped make Butterfinger cake popular. The nutty taste of peanut butter adds something unique. When mixed with the Butterfinger, it creates a cake that’s truly amazing.
“Butterfinger cake is the ultimate indulgence for those who love the perfect balance of chocolate and peanut butter.”
Essential Ingredients for Your Butterfinger Cake
Making a delicious layered candy cake like the classic Butterfinger cake needs the right ingredients. This baked sweet treat combines chocolate and peanut butter for a unique taste. Let’s explore the key ingredients for this tasty dessert at home.
The Butterfinger cake’s heart is the iconic Butterfinger candy bars. You’ll need several chopped or crumbled bars for the cake’s crunch and peanut butter flavor. The cake also needs basic baking items:
- All-purpose flour
- Granulated sugar
- Baking powder and baking soda
- Salt
- Eggs
- Vegetable or canola oil
- Milk
- Vanilla extract
To make the creamy peanut butter frosting, you’ll need smooth peanut butter, unsalted butter, confectioners’ sugar, and heavy cream.
With these ingredients, you’re ready to bake a stunning layered candy cake. It will impress your friends and family. Next, we’ll talk about the kitchen tools and equipment you’ll need for a successful Butterfinger cake.
Kitchen Tools and Equipment You’ll Need
To bake the perfect easy cake recipe or a stunning birthday cake idea, you need the right tools. From basic baking items to decorating tools, we’ll cover what you need. This will make your Butterfinger cake-making journey a success.
Baking Essentials
- Mixing bowls in various sizes
- Hand mixer or stand mixer
- Spatula or wooden spoon for stirring and folding
- Baking pans or cake pans (round or square)
- Parchment paper or non-stick baking spray
Optional Tools for Decoration
While the cake is the main attraction, some tools can make it look even better:
- Piping bags and tips for intricate frosting designs
- Offset spatula for smooth frosting application
- Cake turntable for even frosting coverage
- Crushed Butterfinger pieces or chopped peanuts for garnish
Measuring Equipment
Accurate measurements are key in baking. Make sure you have these:
- Measuring cups for dry and liquid ingredients
- Measuring spoons for precise portioning
- Digital scale for weighing ingredients (optional but helpful)
With these tools and equipment, you’re ready to make a delicious easy cake recipe or a stunning birthday cake idea. Your guests will be impressed.
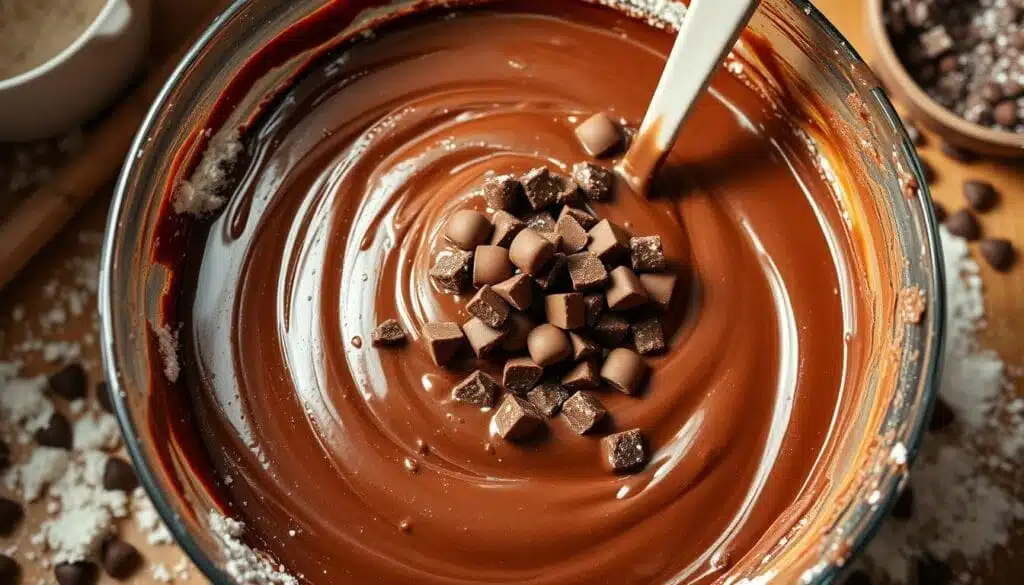
Preparing Your Cake Batter from Scratch
Making the perfect chocolate crunch cake starts with a great cake batter. This step is key for the cake’s unique taste and texture. Let’s explore how to make the batter from scratch.
- Preheat your oven to 350°F (175°C) and grease your cake pans with butter or non-stick cooking spray.
- In a large bowl, whisk together the all-purpose flour, granulated sugar, cocoa powder, baking soda, and salt. This ensures the dry ingredients are evenly mixed.
- In another bowl, mix the eggs, milk, vegetable oil, and vanilla extract. Beat these wet ingredients until they’re well combined.
- Slowly add the wet ingredients to the dry ingredients, mixing gently. This helps avoid a tough cake texture.
- Fold in the chopped Butterfinger candy pieces. Make sure they’re spread out evenly in the batter.
The secret to a great chocolate crunch cake is balancing the chocolate flavor with the Butterfinger crunch. Follow these steps to make a unique dessert that everyone will love.
Creating the Perfect Peanut Butter Frosting
Making the perfect peanut butter frosting is key for a delicious layered candy cake. This creamy frosting goes great with the chocolate cake and adds a nice contrast to the crunchy Butterfinger pieces.
Achieving the Right Consistency
For a smooth frosting, balance sweetness and texture is crucial. Here are some tips to get it right:
- Use room-temperature, softened butter for a creamy base.
- Incorporate the peanut butter gradually, mixing well between additions to prevent clumping.
- Add confectioners’ sugar in small increments, allowing the mixture to fully incorporate before adding more.
- Adjust the consistency by adding a tablespoon of milk or cream at a time, if needed, to reach your desired spreadability.
Storage Tips for Frosting
To keep your frosting creamy and flavorful, follow these storage tips:
- Store the frosting in an airtight container in the refrigerator for up to 1 week.
- Before using, allow the frosting to come to room temperature for 30 minutes to 1 hour, then give it a quick stir to restore its creamy consistency.
- Freeze the frosting for up to 3 months, thawing it overnight in the refrigerator before use.
With these tips, you’ll be well on your way to creating a peanut butter frosting that perfectly complements your layered candy cake.
Crushing and Incorporating Butterfinger Candy
Make your homemade chocolate candy bar cake even better by adding Butterfinger candy. This step brings a fun crunch and a boost of peanut butter flavor. It makes your sweet treat even more indulgent.
Preparing the Butterfinger Candy
Start by unwrapping and chopping the Butterfinger bars into small pieces. Use a sharp knife or a food processor. You want them small enough to mix well but still crunchy.
- Unwrap the desired number of Butterfinger candy bars.
- Place the candy bars on a cutting board and use a sharp knife to chop them into roughly 1/2-inch pieces.
- Alternatively, add the candy bars to a food processor and pulse a few times until you reach the desired consistency.
Incorporating the Crushed Candy
After chopping the Butterfinger pieces, fold them into the cake batter. Do this just before pouring it into the pans. This way, every slice of your chocolate candy bar cake will have the right mix of crunch and flavor.
| Tip | Avoid over-mixing the batter once the Butterfinger pieces have been added, as this can lead to a dense or dry cake texture. |
|---|
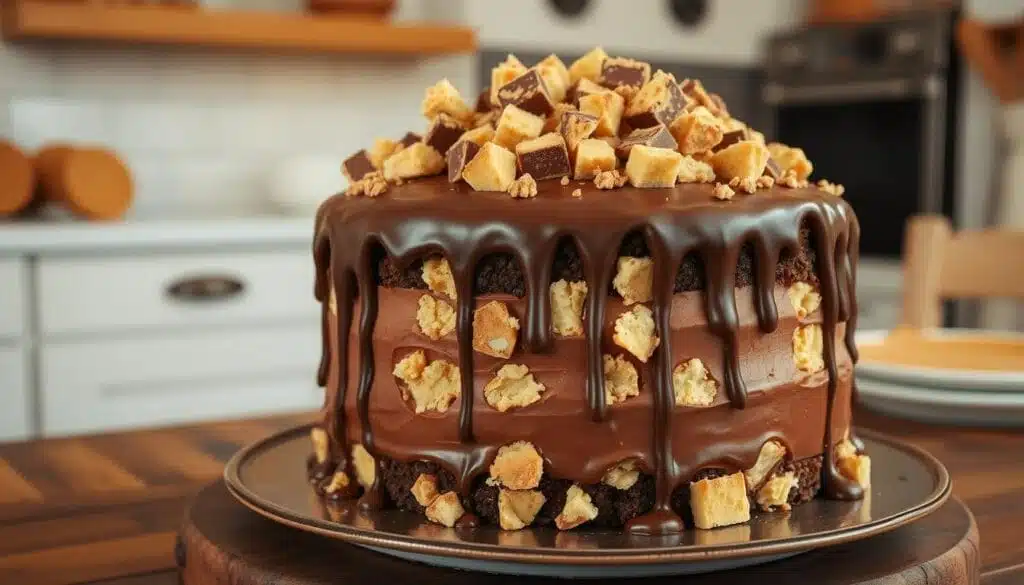
By following these steps, you’ll make a chocolate candy bar cake that will wow everyone. The Butterfinger candy adds a fun crunch and pairs perfectly with the cake. It’s a truly special homemade baked sweet treat.
Assembly and Decoration Techniques
Making the perfect birthday cake idea or unique dessert like a Butterfinger cake needs focus on detail. Follow these steps for a cake that looks like it was made by a pro. It will surely impress your guests.
Layering Your Cake
Start by leveling the cooled cake layers for even stacking. Place the first layer on your serving platter or cake stand. Then, spread a lot of peanut butter frosting on top. Sprinkle crushed Butterfinger candies over the frosting.
Repeat this with the other cake layers, ending with the top layer.
Professional Finishing Touches
To make your Butterfinger cake look like it came from a bakery, try these decorating tips:
- Smooth the peanut butter frosting around the cake’s sides for a clean finish.
- Use a piping bag and different tips to create designs on the cake.
- Sprinkle more crushed Butterfinger candies around the cake’s base or on top.
- Drizzle melted chocolate over the cake for a dramatic look.
By carefully layering the cake and adding these professional touches, you can turn a simple Butterfinger cake into a birthday cake idea or unique dessert. It will surely impress your guests.
Storage and Serving Recommendations
Keeping your homemade butterfinger cake fresh and flavorful is key. Follow these tips to keep your easy cake recipe irresistible.
Proper Storage for Maximum Freshness
Store your butterfinger cake in an airtight container at room temperature. This keeps the cake moist and prevents drying. Don’t refrigerate it, as cold temperatures can harden the frosting and change the texture.
For the best taste, eat your butterfinger cake within 3-4 days. If you have leftovers, freeze individual slices in plastic wrap or foil for up to 2 months.
Serving Suggestions for Maximum Enjoyment
Let the butterfinger cake come to room temperature before serving. This ensures the best flavors and textures. Serve with vanilla ice cream or chocolate sauce for a special treat.
| Storage Method | Shelf Life |
|---|---|
| Room temperature (airtight container) | 3-4 days |
| Freezer (individual slices wrapped) | Up to 2 months |
By following these tips, you can enjoy your butterfinger cake for days. Savor every bite of this homemade easy cake recipe with its perfect chocolate and peanut butter mix.
Conclusion
Making a delicious Butterfinger cake at home is a fun project. It lets you enjoy the perfect mix of chocolate crunch and creamy peanut butter. This article has shown you how to make a special dessert that will wow your family and friends.
Whether you’re an experienced baker or new to cooking, this recipe is a great challenge. You’ll learn to make a moist cake and a creamy peanut butter frosting. Each step is important for a great homemade cake.
When you start making your Butterfinger cake, don’t be afraid to try new things. You can use your favorite chocolate or add extra mix-ins. This way, you can make a peanut butter cake that’s truly yours.
FAQ
What is Butterfinger cake?
Butterfinger cake is a tasty dessert that mixes chocolate and peanut butter with Butterfinger crunch. It’s a homemade cake with a moist chocolate base and creamy peanut butter frosting. The top is covered in crushed Butterfinger pieces for a unique taste and texture.
What makes Butterfinger cake so special?
Butterfinger cake is special because it combines chocolate and peanut butter perfectly. The crunchy Butterfinger bars add a special touch, making it different from regular chocolate or peanut butter cakes.
What are the essential ingredients for making Butterfinger cake?
You’ll need flour, sugar, cocoa powder, baking soda, salt, eggs, oil, milk, and Butterfinger bars for the cake. For the frosting, you’ll need butter, peanut butter, powdered sugar, and heavy cream.
What kitchen tools and equipment do I need to make Butterfinger cake?
You’ll need mixing bowls, a mixer, a cake pan, and a spatula for baking. For decorating, use a piping bag and tips. Also, a digital scale and measuring cups are important for accurate measurements.
How do I prepare the cake batter from scratch?
First, sift the dry ingredients together. Then, mix the wet ingredients in another bowl. Combine the two, mixing until smooth and well-combined.
How do I make the perfect peanut butter frosting?
Cream butter and peanut butter until fluffy. Add powdered sugar slowly, then heavy cream. Beat well to get a smooth frosting.
How do I crush and incorporate Butterfinger candy bars into the cake?
Crush the Butterfinger bars using a food processor or a rolling pin. Mix the crushed pieces into the batter before baking. Save some for the top for extra crunch.
How do I assemble and decorate the Butterfinger cake?
Level the cake layers and stack them on a plate. Spread frosting between each layer. Frost the outside and decorate with crushed Butterfinger pieces for a professional look.
How should I store and serve the Butterfinger cake?
Store the cake in the fridge for up to 5 days. Let it come to room temperature for 30 minutes before serving. Enjoy it on its own or with vanilla ice cream for a treat.

