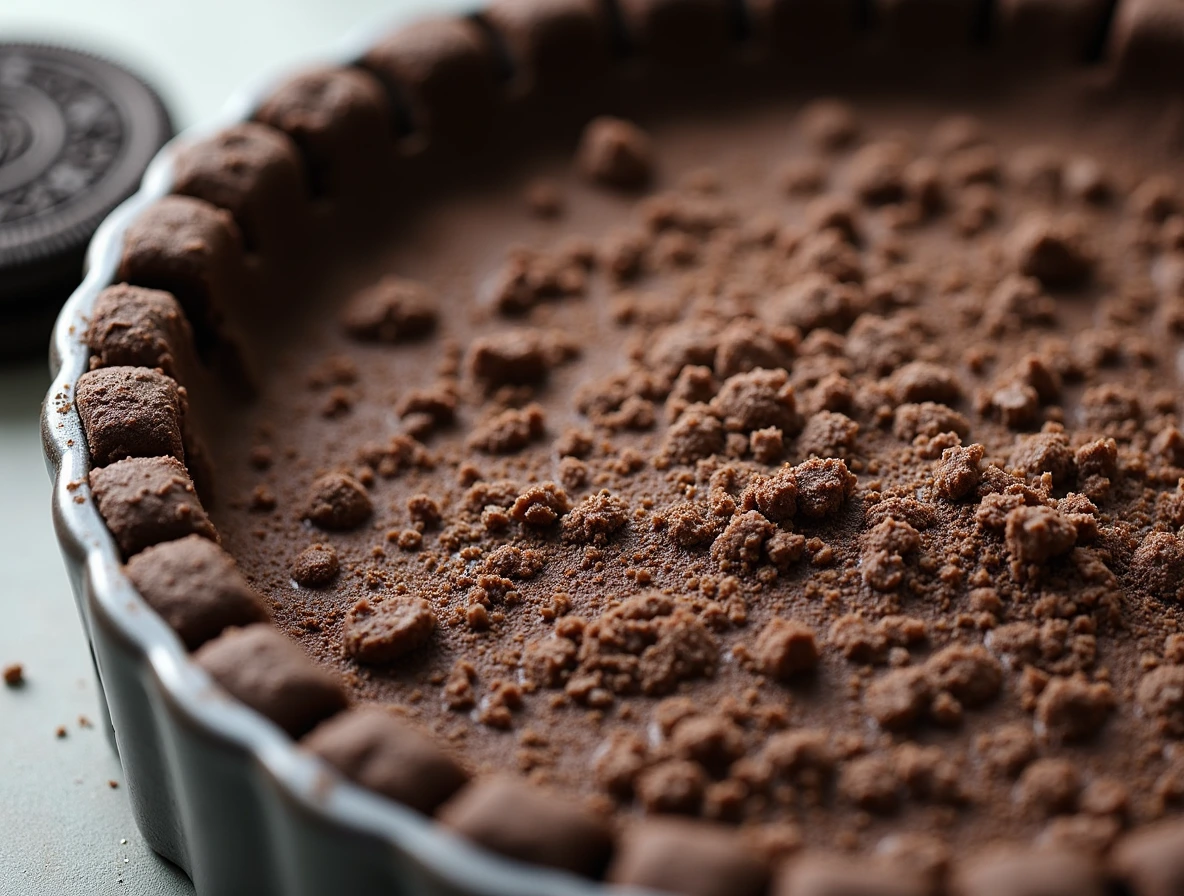
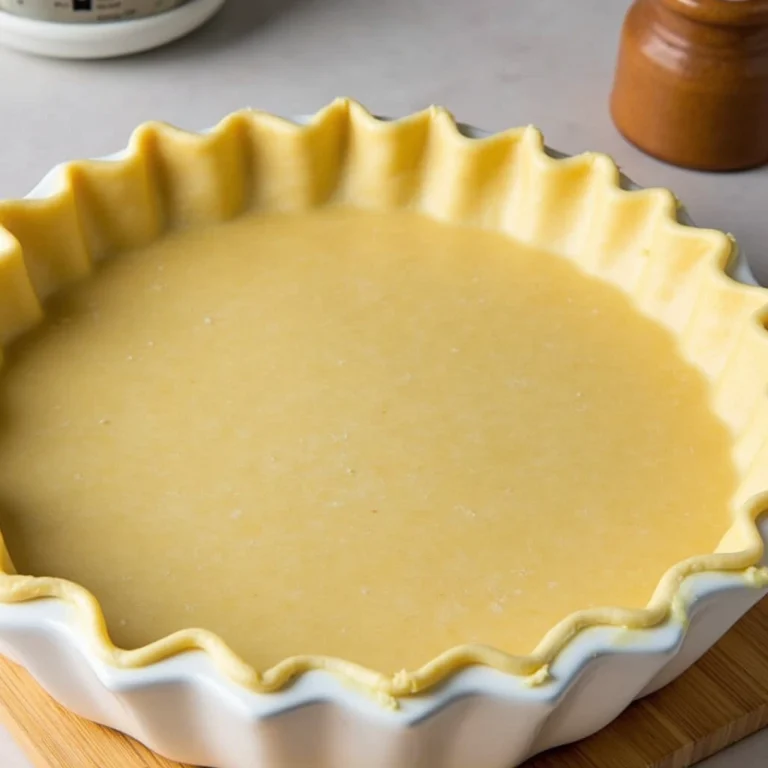
How to Make the Perfect Oreo Crust Recipe
The Oreo cookie is a classic treat that many love. But did you know you can make something even better with them? Welcome to the world of homemade Oreo crust recipe, where you can create endless delicious desserts.
Making the perfect Oreo crust is a true art. It lets you customize your desserts and add a rich, indulgent flavor. Whether it’s a cheesecake, pie, or no-bake treat, the homemade Oreo crust makes it even better.
Table of Contents
Key Takeaways
- Homemade Oreo crust offers endless customization possibilities for your favorite desserts.
- Crafting an Oreo crust from scratch allows you to control the ingredients and achieve a richer, more indulgent flavor.
- Making your own Oreo crust can be a rewarding and cost-effective alternative to store-bought options.
- The process of crushing Oreo cookies and blending them with the perfect ratio of butter is a true culinary art form.
- Mastering the homemade Oreo crust will elevate your desserts to new levels of deliciousness.
Why Homemade Oreo Crust Beats Store-Bought Every Time
The base of any dessert is crucial. Store-bought Oreo cookie crusts might seem easy, but making your own oreo cookie crust at home has many benefits.
Health Benefits of Making Your Own Crust
Creating your own Oreo crust lets you choose the ingredients. This way, you can avoid preservatives and artificial flavors found in store-bought ones. Making a easy oreo pie crust at home means using better, natural ingredients that fit your dietary needs.
Cost Comparison: Homemade vs. Store-Bought
Another plus of homemade Oreo crust is saving money. Store-bought options might be quicker, but they cost more over time. Making your own crust is cheaper, letting you enjoy great taste without spending a lot.
| Homemade Oreo Crust | Store-Bought Oreo Crust |
|---|---|
| $2.50 per crust | $4.99 per crust |
| Customizable ingredients | Limited ingredient options |
| Healthier, natural ingredients | Potential preservatives and additives |
By making your own oreo cookie crust, you get a quality base for your desserts. Plus, you’ll feel proud of your homemade touch.
Essential Ingredients for an Oreo Crust Recipe
Making a tasty oreo crumb crust or a rich chocolate oreo crust is simpler than you think. The secret to a great Oreo crust is knowing the key ingredients. Let’s look at the main parts of this versatile and tasty base.
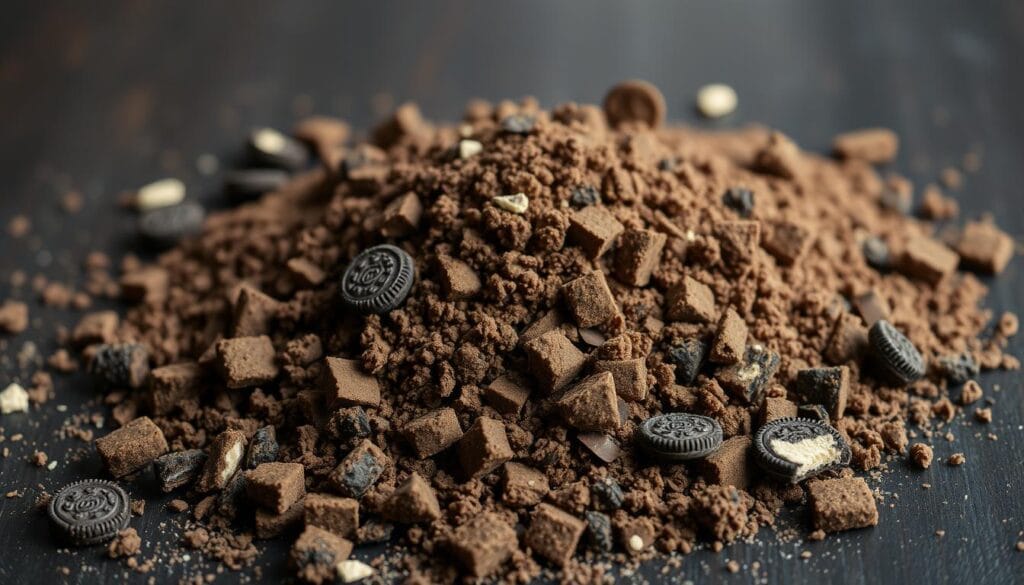
Oreo cookies are at the core of any Oreo crust recipe. Crush them, including the filling, into a fine oreo crumb. This creates the base of your crust. The creamy center adds a nice texture and boosts the sweetness and chocolate taste.
Butter is the hidden gem that keeps the crust together. Finding the right mix of Oreo crumbs and melted butter is key. It makes the crust strong enough to hold your dessert but still crunchy and crumbly. Some recipes might add a bit of sugar or salt to improve the taste.
| Ingredient | Purpose |
|---|---|
| Oreo Cookies | Provide the essential chocolate flavor and texture |
| Butter | Binds the crust together and contributes to the desired texture |
| Sugar (optional) | Enhances the sweetness and caramelization |
| Salt (optional) | Balances the sweetness and heightens the overall flavor profile |
With these basic yet powerful ingredients, you can make a chocolate oreo crust that will take your desserts to the next level. Get ready to wow your family and friends with your homemade Oreo crust skills!
Tools and Equipment You’ll Need
Making the perfect oreo cheesecake crust or homemade oreo crust needs the right tools. You can crush Oreos by hand or use a food processor. The right equipment helps get the right texture and consistency for your dessert.
Manual Crushing Methods
For a hands-on approach, you can crush Oreos with a rolling pin. Or, use a plastic bag and a heavy object like a can. This way, you can control the crumb size and get an even texture.
Food Processor Techniques
A food processor makes crushing Oreos quick and easy. Just add the cookies and pulse until they’re the right size. This is great for making big batches of oreo cheesecake crust or homemade oreo crust.
Measuring Tools Guide
- Measuring cups: Essential for accurately measuring the amount of Oreo cookie crumbs and butter needed for the crust.
- Measuring spoons: Crucial for precisely measuring any additional ingredients, such as sugar or vanilla extract, that may be added to the crust.
- Kitchen scale: Provides the most accurate measurements, especially when working with smaller amounts of ingredients.
Having the right tools makes making an oreo cheesecake crust or homemade oreo crust easier. Knowing the different methods and using the right measuring tools will help you make a perfect Oreo crust for your dessert.
Step-by-Step Guide to Crushing Oreo Cookies
Creating a perfect oreo crust recipe begins with crushing the oreo cookie crust right. Here are simple steps to get the right texture for your desserts.
- Gather your Oreo cookies. You’ll need about 36 cookies, or 2 1/4 cups of crushed Oreos, for a standard 9-inch pie crust.
- Remove the cream filling from the cookies, if desired. This step is optional, but removing the filling can result in a more uniform crust texture.
- Place the cookies in a resealable plastic bag and use a rolling pin to crush them into fine crumbs. Alternatively, you can use a food processor to pulse the cookies until they reach your desired consistency.
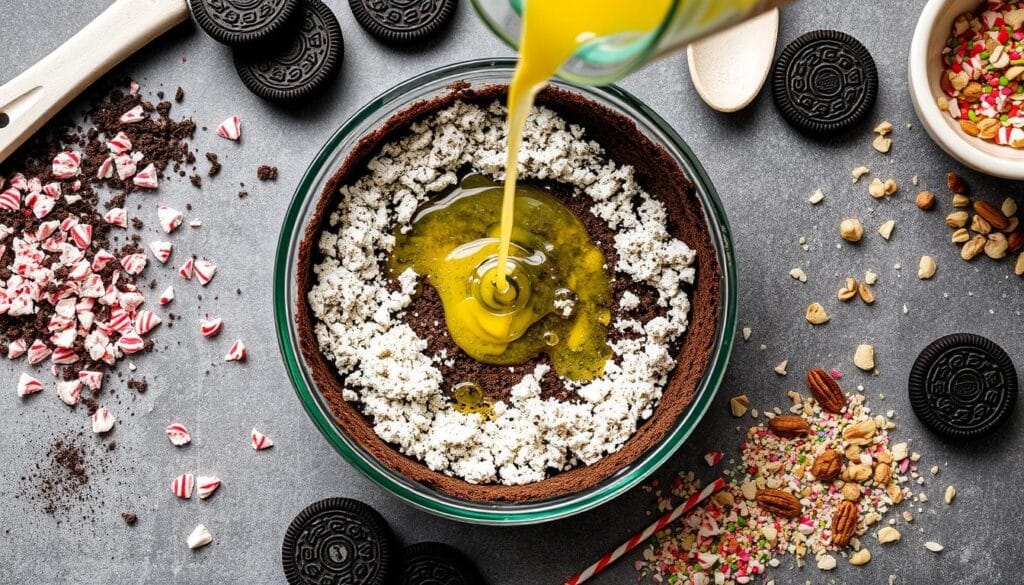
- Once the cookies are crushed, melt 5 tablespoons of unsalted butter and pour it into the cookie crumbs. Use a fork to mix the butter and crumbs together until the mixture resembles wet sand.
- Press the oreo crust recipe mixture firmly into the bottom and up the sides of a pie plate or springform pan. Make sure the crust is packed down evenly to prevent any gaps or holes.
- Chill the crust in the refrigerator for at least 30 minutes before filling it with your desired dessert. This will help the oreo cookie crust set and hold its shape.
By following these steps, you’ll ensure a consistently delicious and easy-to-work-with oreo crust recipe every time.
Perfect Oreo-to-Butter Ratio for Different Desserts
Finding the right mix of Oreos and butter is key for your desserts. Whether it’s a no-bake oreo crust or an easy oreo pie crust, getting the ratio just right is essential. It makes your dessert base both delicious and sturdy.
Cheesecake Base Requirements
For cheesecakes, use 2 cups of crushed Oreos for every 1 cup of melted butter. This mix gives you a rich, chocolatey crust. It pairs perfectly with the creamy cheesecake inside.
Pie Crust Specifications
For a easy oreo pie crust, adjust the ratio for a 9-inch pie. Use 1.5 cups of crushed Oreos and 3/4 cup of melted butter. This ensures a crust that’s both sturdy and tender, great for any pie filling.
No-Bake Dessert Adjustments
No-bake treats like Oreo truffles or mousse require a different ratio. Use about 3 cups of crushed Oreos to 1/2 cup of melted butter. This makes a fudgy texture that holds its shape without baking.
These ratios are a good starting point, but feel free to adjust them. The goal is to find the perfect Oreo crust for your dessert. Experiment to get the mix just right every time.
Baking vs. No-Bake Oreo Crust Methods
Creating the perfect Oreo crust can be done in two ways: baking or no-bake. Each method has its own benefits. The choice depends on the dessert you’re making.
The Baked Oreo Crust Approach
The baked method mixes crushed Oreo cookies with melted butter. Then, it’s pressed into a pie dish or springform pan and baked. This makes a firm crust that’s great for heavy fillings, like in a Oreo cheesecake crust.
The No-Bake Oreo Crust Option
The no-bake method is quicker and easier. Crushed Oreo cookies are mixed with melted butter, then pressed into a pan. It’s perfect for no-bake desserts like Oreo icebox cakes or Oreo truffles, where a softer crust is needed.
| Baked Oreo Crust | No-Bake Oreo Crust |
|---|---|
| Firm, sturdy texture | Softer, more delicate texture |
| Holds up well to heavier fillings | Better suited for no-bake desserts |
| Requires baking time | No baking required |
Choosing between baked or no-bake Oreo crust depends on your dessert and preferences. Try both methods to find the best Oreo crust for your creations.
Troubleshooting Common Oreo Crust Problems
Getting the perfect oreo crumb crust or chocolate oreo crust can be tricky. But don’t worry, we’ve got you covered. We’ll tackle common issues and offer solutions to make your Oreo crusts perfect every time.
Fixing a Crumbly Crust
If your Oreo crust is too crumbly, it might be because of the wrong Oreo-to-butter ratio. To fix this, add a bit more melted butter to the crushed Oreos. Start with 1-2 tablespoons at a time until it sticks better. The right ratio can change based on your dessert, so be ready to adjust.
Preventing a Soggy Bottom
Soggy Oreo crusts are a bummer. But there are ways to avoid them. First, bake the crust well before adding your filling. This sets the crust and stops it from soaking up moisture. Also, pre-bake the crust for 5-10 minutes before adding the filling for an extra crisp base.
Addressing Sticking Issues
If your Oreo crust sticks to the pan, try greasing the pan with butter or non-stick spray. You can also line the pan with parchment paper for extra protection. Gently loosen the crust with a knife or spatula to help it release when serving.
By using these tips, you’ll make perfect oreo crumb crust or chocolate oreo crust for your desserts. Enjoy the tasty results!
Creative Variations and Flavor Enhancements
Explore a world of exciting variations on the classic oreo crust recipe. You can customize your desserts with many flavorful twists. These will surely delight your taste buds.
Try different Oreo cookies to add a unique touch. Use seasonal flavors like Pumpkin Spice or Mint. Or, choose Oreo Thins or Double Stuf for a special twist on the homemade oreo crust. The options are endless!
- Experiment with seasonal Oreo flavors for a festive touch
- Try specialized Oreo varieties like Thins or Double Stuf
- Incorporate crushed candy canes, graham crackers, or even crushed pretzels for a delightful contrast
Add a touch of spice, citrus, or liqueur to your Oreo crust. A pinch of cinnamon, a zest of orange, or a splash of Kahlua can elevate your dessert. Get creative with your mix-ins and unleash your inner pastry chef!
| Flavor Enhancement | Suggested Pairings |
|---|---|
| Cinnamon | Pumpkin pie, apple crumble |
| Orange Zest | Cheesecake, chocolate mousse |
| Kahlua | Tiramisu, coffee-flavored desserts |
Don’t be afraid to try unique presentation techniques. Press the oreo crust recipe into individual tart pans for a sophisticated look. Or, mold it into pie plates or springform pans for a show-stopping result. The options are endless when it comes to elevating your homemade oreo crust creations.
Embrace your inner creative spirit and let your imagination run wild. With a little experimentation, you can turn the classic Oreo crust into a culinary masterpiece. This will impress your friends and family.
Conclusion
Creating a delicious Oreo cookie crust is easy and fun. It’s great for making cheesecakes, no-bake pies, or trying new desserts. This crust is the perfect base for any treat.
You now know how to make an oreo cookie crust that will wow everyone. You’ve learned how to crush Oreos and mix them with butter just right. Feel free to mix things up and try new flavors. The world of Oreo desserts is full of possibilities.
Keep exploring the world of easy oreo pie crust and enjoy every step. Baking is a chance to be creative and share yummy treats with others. So, bake with confidence and enjoy the fruits of your labor.
FAQ
What are the main ingredients needed to make an Oreo crust?
To make an Oreo crust, you need Oreo cookies and butter. You can also add sugar or salt to make it taste better.
What tools and equipment are required to make an Oreo crust?
You’ll need a food processor or a bag and a rolling pin to crush Oreos. Don’t forget measuring cups and spoons for the right amounts.
What’s the best way to crush Oreo cookies for the crust?
Use a food processor or a bag and rolling pin to crush Oreos. Aim for a fine crumb for the best crust.
What’s the ideal Oreo-to-butter ratio for different desserts?
The Oreo-to-butter ratio changes with each dessert. Cheesecakes need more Oreos, while pies and no-bake desserts might need less.
Should I bake the Oreo crust or use a no-bake method?
Baking or no-baking depends on your dessert. Baking helps the crust stay firm, but no-baking is quicker.
How can I troubleshoot common Oreo crust problems?
For a crumbly crust, add more butter. To avoid a soggy bottom, bake the crust first. If it sticks, grease the pan or use parchment paper.
What are some creative ways to customize an Oreo crust?
Try different Oreo flavors like chocolate or mint for unique tastes. Add nuts, spices, or extracts to make it even better.

