How to Make the Perfect Pineapple Pie From Scratch
As the sun sets, it casts a warm glow over the kitchen. The scent of a freshly baked pineapple pie fills the air. For me, this dessert brings back memories of summer days in my grandmother’s kitchen.
She would carefully make the layers of flaky crust and sweet, tangy fruit. Making this tropical delight from scratch is a cherished tradition. I’m excited to share it with you.
In this guide, you’ll learn how to make the perfect pineapple pie. You’ll find out how to pick the best ingredients and create a lattice top. This tutorial is for both seasoned bakers and beginners. It will help you make a dessert that tastes like a tropical getaway.
Table of Contents
Key Takeaways
- Learn the essential ingredients and techniques for making a delicious pineapple pie from scratch
- Discover the history and cultural significance of tropical desserts in American cuisine
- Understand the importance of selecting the right pineapple and preparing it for the perfect filling
- Master the art of creating a flaky, golden-brown pie crust
- Explore creative ways to elevate your pineapple pie with decorative lattice designs and edge variations
Introduction to Traditional Pineapple Pie
Pineapple pastry is a favorite in American cuisine, known for its tropical flavors. It comes from Hawaii and other island nations. This pie has become a beloved dessert, showing the fruit’s versatility.
History of Tropical Desserts in American Cuisine
The pineapple became popular in American baking in the early 20th century. Immigrants from the Pacific Islands brought their cooking traditions to the U.S. This led to the creation of the iconic pineapple pastry.
Why Pineapple Makes an Exceptional Pie Filling
The pineapple’s flavor is both sweet and tart, making it perfect for pies. Its juicy texture pairs well with the flaky crust. The island flavors of the pineapple add an exotic twist to a classic American dessert.
“The pineapple’s journey to prominence in American baking can be traced back to the early 20th century, when the influx of immigrants from the Pacific Islands introduced their vibrant culinary traditions to the United States.”
Essential Ingredients for Your Pineapple Pie
Making the perfect pineapple filling for your pie needs a mix of ingredients. You want to get the right mix of sweet and tangy tastes. So, you’ll need to pick a few important items.
Start with fresh, ripe pineapples. Choose pineapples that are golden and smell sweet. Stay away from pineapples with brown spots or a dull look. They won’t give you the sweetness and tartness you want.
- Fresh pineapple, finely chopped or crushed
- Granulated sugar
- All-purpose flour
- Unsalted butter
- Lemon juice
- Ground cinnamon (optional)
- Nutmeg (optional)
Sugar balances the pineapple’s tartness. Flour makes the filling thick and creamy. Butter adds richness and flakiness to the crust. Lemon juice brings out the tangy taste of the pineapple filling. Cinnamon and nutmeg add warmth and depth.
“The key to a truly exceptional pineapple pie is finding the perfect balance between the sweet and tart elements of the filling.”
By picking and measuring these key ingredients, you can make a pineapple pie that looks great and tastes amazing.
Kitchen Tools and Equipment Needed
To bake the perfect pineapple pie, you need more than just ingredients. The right kitchen tools and equipment are crucial. They can make a big difference in your baking success. Let’s look at the essential utensils and some optional tools that will enhance your pineapple pie-making.
Must-Have Baking Utensils
- Rolling pin: Essential for rolling out the dough into an even, thin crust.
- Mixing bowls: You’ll need several bowls of various sizes for mixing the filling and preparing the crust.
- Whisk: Invaluable for blending the wet and dry ingredients smoothly.
- Rubber spatula: Crucial for scraping down the sides of the bowls and ensuring thorough mixing.
- Measuring cups and spoons: Precise measurements are key to achieving the perfect pineapple pie consistency.
- Pie dish: Choose a deep-dish pie plate made of glass, ceramic, or metal to bake your masterpiece.
Optional Tools for Advanced Techniques
While the basics above are essential, some extra tools can elevate your pineapple pie even more:
- Pastry cutter: Helpful for cutting cold butter into the flour when making the crust.
- Pie weights: Use these to prevent the crust from puffing up during pre-baking.
- Lattice cutter: Simplifies the process of creating a professional-looking lattice top crust.
- Pineapple corer: Streamlines the process of preparing the fresh fruit for the filling.
With the right tools, you’ll be on your way to making the ultimate baked delight. A delicious and stunning pineapple pie awaits you.
Preparing the Perfect Pie Crust
Making the perfect pie crust is key for a tasty lattice top crust that goes well with the sweet and tangy pineapple pastry filling. You can choose between a flaky dough or a rich graham cracker base. The goal is to get the right texture and flavor.
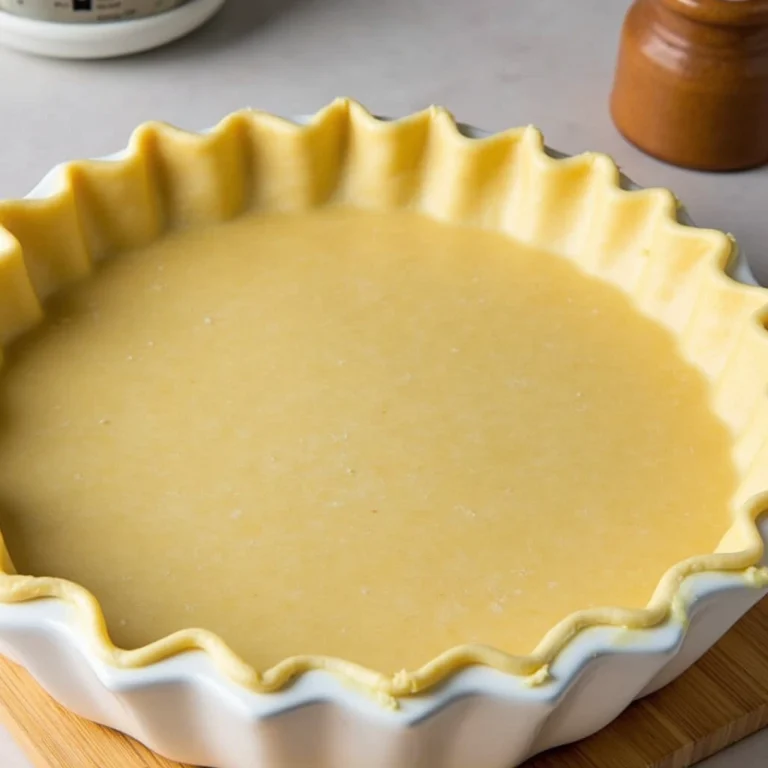
First, get your ingredients ready: flour, butter, salt, and ice water. For a classic crust, mix the dry ingredients first. Then, cut in the cold butter with a pastry blender or forks. Add ice water slowly, mixing until the dough forms. Don’t overwork it to avoid a tough crust.
- Roll out the dough on a lightly floured surface, using gentle strokes to create an even, round shape.
- Carefully transfer the dough to your pie plate, gently pressing it into the sides and bottom.
- Trim any excess dough, leaving a 1-inch overhang, and crimp the edges for a decorative finish.
For a graham cracker crust, just pulse the crackers in a food processor until they’re fine crumbs. Mix with melted butter and press into your pie plate. This no-bake option is a great contrast to the juicy pineapple filling.
“The secret to a perfect pie crust lies in the balance of flour, fat, and water. With a little practice, you’ll be rolling out flaky, golden crusts that showcase the best of your homemade pineapple pie.”
Whether you choose a crust or a graham cracker base, the main thing is to work fast and gently. This ensures a tender, flaky crust. Mastering this step will help you make a standout pineapple pie from scratch.
Selecting and Preparing Fresh Pineapples
Making the perfect pineapple pie begins with picking the right fruit. Fresh, ripe pineapples are essential for unlocking the tropical sweetness and tangy flavors. These flavors make the dessert a true delight. Let’s look at how to choose and prepare pineapples for your homemade filling.
Ripeness Indicators
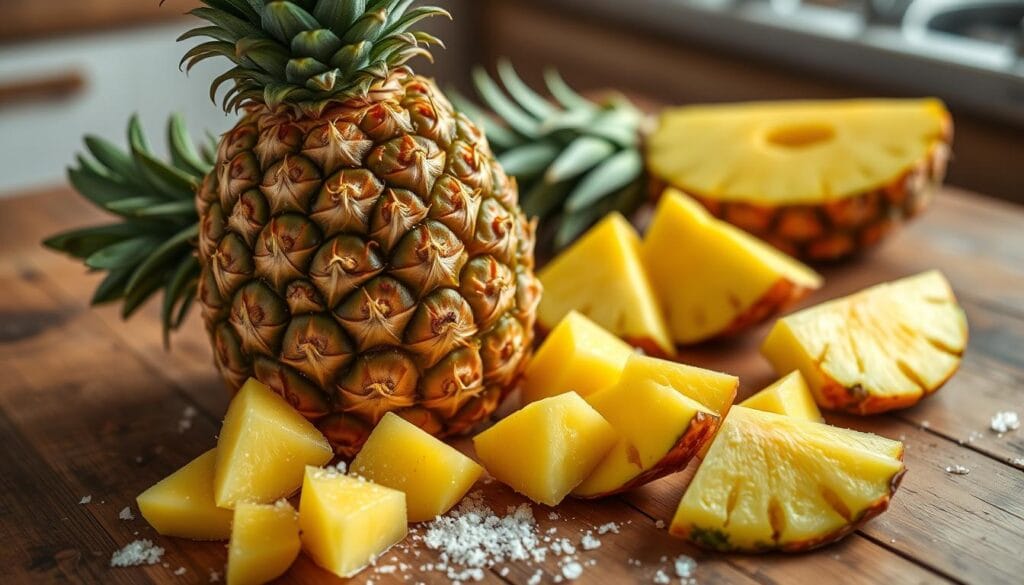
Choosing the right pineapple is key. Ripe pineapples have a golden-yellow color and give slightly when pressed. Stay away from pineapples that are too green or too soft. They can make your pie taste bitter or be soggy.
Cutting and Coring Techniques
- Begin by cutting off the crown and bottom of the pineapple with a sharp knife.
- Slice the pineapple lengthwise into quarters. Then, use a knife or corer to remove the tough core from each quarter.
- Dice the remaining pineapple flesh into small, even pieces. This ensures they cook evenly and the filling is smooth.
By following these steps, you’ll have perfectly prepped pineapple pieces. They’re ready to turn into a delicious tropical dessert with a pineapple filling that will wow your guests.
Creating the Sweet and Tangy Filling
Making the perfect pineapple pie filling is an art. It needs a mix of sweet and tangy flavors. You’ll need to pick and prepare your pineapple right, and mix in the right spices and thickeners.
Begin by peeling, coring, and cutting your pineapple into small pieces. The fruit’s sweetness and tanginess are key. Choose a ripe, juicy pineapple with a bright yellow color and a nice smell.
Add some island flavors with spices like cinnamon, nutmeg, and a bit of ginger. These spices will enhance the sweet and tangy pineapple, making the filling rich and tasty.
To get the right texture, thicken the filling. Cornstarch or tapioca starch are good choices. They make the filling smooth and prevent it from becoming too runny. Add the thickener slowly, tasting and adjusting until it’s just right.
Finally, add a bit of acidity to balance the sweetness. A squeeze of fresh lemon or lime juice does the trick. It brightens the flavors and keeps the filling from being too sweet.
With fresh pineapple, spices, and the right thickeners, you’re on your way to a sweet and tangy filling. Your pineapple pie will be truly special.
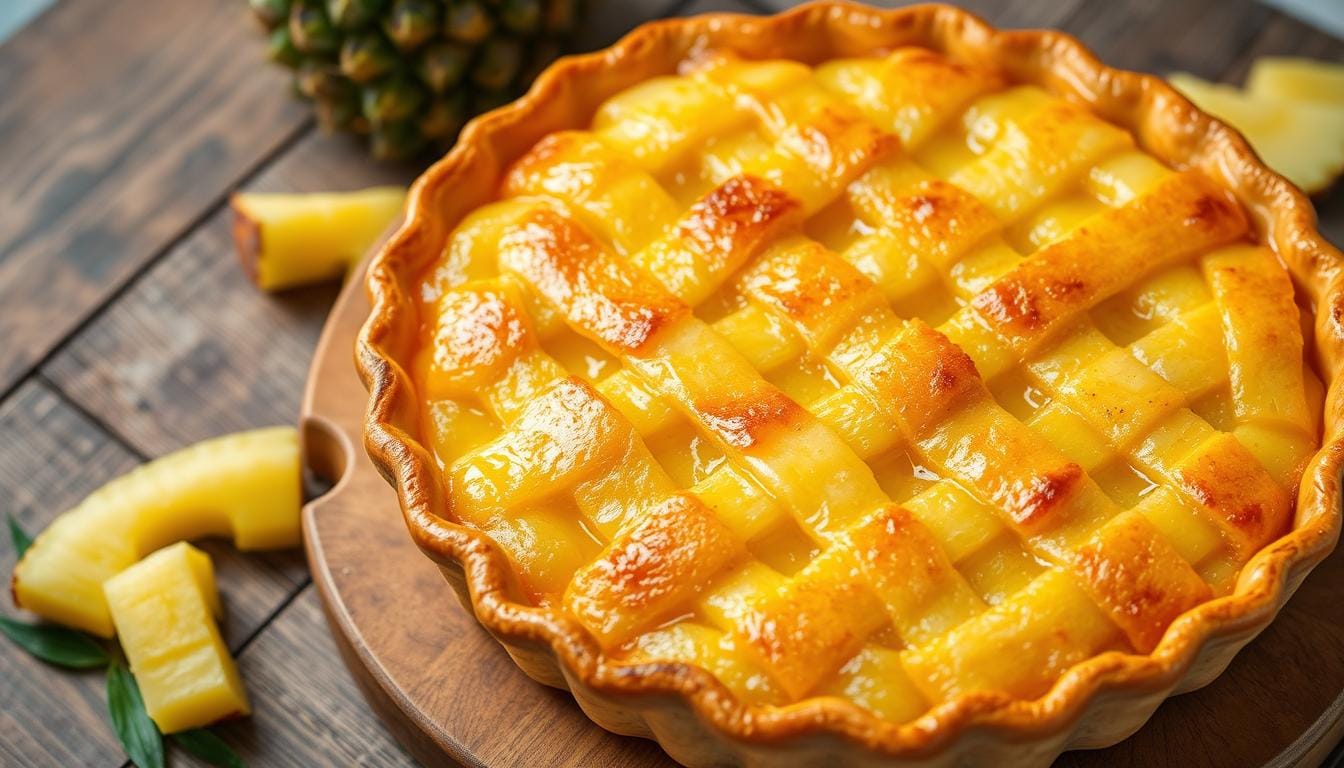
Mastering the Lattice Top Design
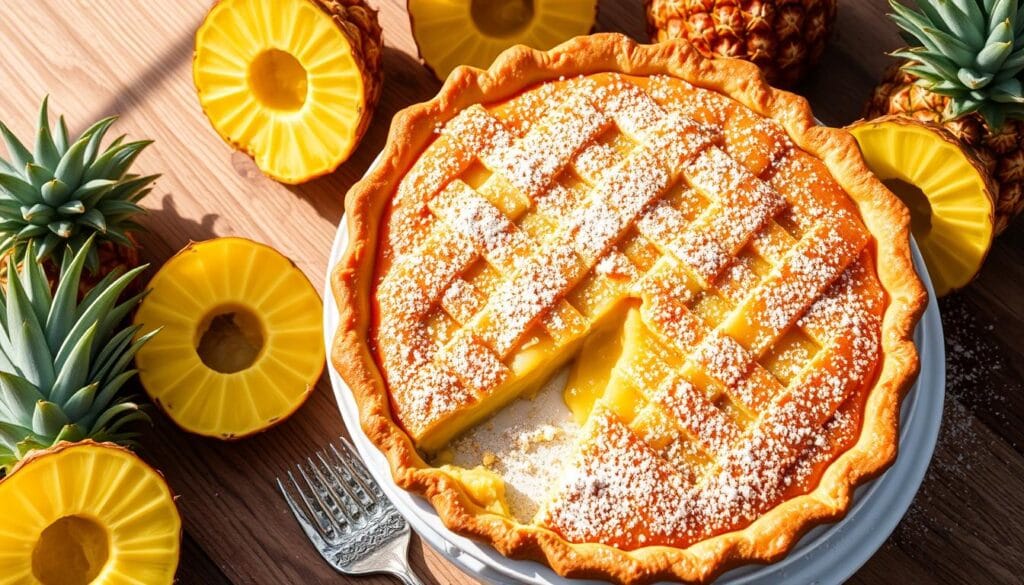
Creating a beautiful lattice top is the crowning glory of your pineapple pie. This intricate pattern adds visual appeal and vents the filling. It prevents a soggy crust. Mastering the lattice technique may seem daunting, but with a few simple steps, you can achieve a professional-looking result that will impress your guests.
Step-by-Step Weaving Guide
- Begin by rolling out your lattice top crust to a thin, even thickness, about 1/8 inch.
- Use a sharp knife or a fluted pastry wheel to cut the crust into long, even strips, approximately 1/2 inch wide.
- Carefully place the first strip across the center of your pie, pressing it gently into the edge of the pie dish.
- Weave the remaining strips, alternating between going over and under the previous strips, to create a classic criss-cross pattern.
- Trim any excess dough from the edges and press the lattice firmly into the bottom crust to seal it.
Decorative Edge Variations
Once you have the lattice top in place, you can further enhance the appearance of your pineapple pie by experimenting with different edge designs. Try crimping the edges with a fork for a rustic look, or use a pair of kitchen shears to create decorative scallops or waves along the rim.
For an extra special touch, you can even weave the lattice strips all the way to the edge of the pie dish, creating a continuous lattice pattern that extends to the very border of the crust. This technique requires a bit more precision but can result in a stunning, professional-looking pie.
| Technique | Description | Difficulty Level |
|---|---|---|
| Classic Lattice | The traditional criss-cross pattern | Intermediate |
| Continuous Lattice | Lattice strips woven to the edge | Advanced |
| Crimped Edges | Decorative edge created with a fork | Easy |
| Scalloped Edges | Decorative edge created with kitchen shears | Intermediate |
With a little practice and patience, you’ll be able to create a lattice top crust that truly elevates your pineapple pie to the next level. Experiment with different techniques and find the one that best suits your baking style and the overall aesthetic you’re aiming for.
Baking Temperature and Timing Guidelines
To bake the perfect baked delight, temperature and timing are key. For a tasty pineapple pastry, follow these tips. They’ll help you get a golden crust and a perfectly cooked filling.
Preheat your oven to 400°F (200°C). This high heat makes the crust flaky and the filling cooked through. Place your pie on the middle rack when the oven is hot.
- Bake the pie for 25-30 minutes, watching it closely.
- Check for a deep golden crust and bubbly filling edges.
- Lower the oven to 350°F (175°C) and bake for 20-25 more minutes.
- The pie is ready when the crust is flaky and the filling thick and bubbly.
To check if your baked delight is done, use a toothpick or knife. It should come out clean, without dough or filling.
| Baking Stage | Temperature | Time |
|---|---|---|
| Initial Bake | 400°F (200°C) | 25-30 minutes |
| Final Bake | 350°F (175°C) | 20-25 minutes |
Oven temperatures and times can vary. So, watch your pineapple pastry closely and adjust as needed. With these tips, you’re on your way to a delicious baked delight that will wow everyone.
Troubleshooting Common Pineapple Pie Issues
Baking the perfect pineapple pie is a fun challenge. Even experienced bakers sometimes face problems. But, with the right solutions, you can fix these issues and make a beautiful pineapple pie every time.
Preventing Soggy Bottoms
A soggy bottom crust is a common problem with pineapple pie. To avoid this, follow these steps:
- Prebake the bottom crust for 10-15 minutes before adding the filling.
- Make sure your pineapple filling is not too watery – drain excess juice before adding it to the crust.
- Use a higher oven temperature (425°F) for the first 15 minutes of baking to help set the crust.
Fixing Filling Consistency
If your pineapple pie filling is too runny, here’s how to thicken it:
- Increase the amount of cornstarch or flour in the recipe.
- Let the filling cool completely before pouring it into the crust – this will help it set up.
- Add a bit of instant pudding mix to the filling for extra thickness.
With a bit of troubleshooting and some simple tricks, you can solve any pineapple pie problem. Enjoy the journey and the delicious results of your homemade fruit tart creations.
Storage and Serving Suggestions
After baking the perfect tropical dessert, it’s key to store and serve it right. This keeps its flavor and texture just right. Storing your pineapple pie well lets you enjoy it for days.
First, let your pineapple pie cool down completely. Then, cover it tightly with plastic wrap or foil. For the best taste, keep it in the fridge for up to 4 days. If you want to save it longer, freeze it for up to 2 months. Just thaw it in the fridge overnight before you serve it.
When you’re ready to serve your Hawaiian cuisine treat, let it sit at room temperature for 30 minutes. This lets the flavors mix well and the pie becomes soft and flaky. Enjoy your pineapple pie with whipped cream or vanilla ice cream for a special treat.
| Storage Method | Shelf Life |
|---|---|
| Refrigerated | Up to 4 days |
| Frozen | Up to 2 months |
Enjoying your pineapple pie means savoring each bite and sharing it with others. It’s perfect as a special dessert or a fun part of a tropical party. Your homemade tropical dessert will be a big hit.
Variations and Tropical Twists
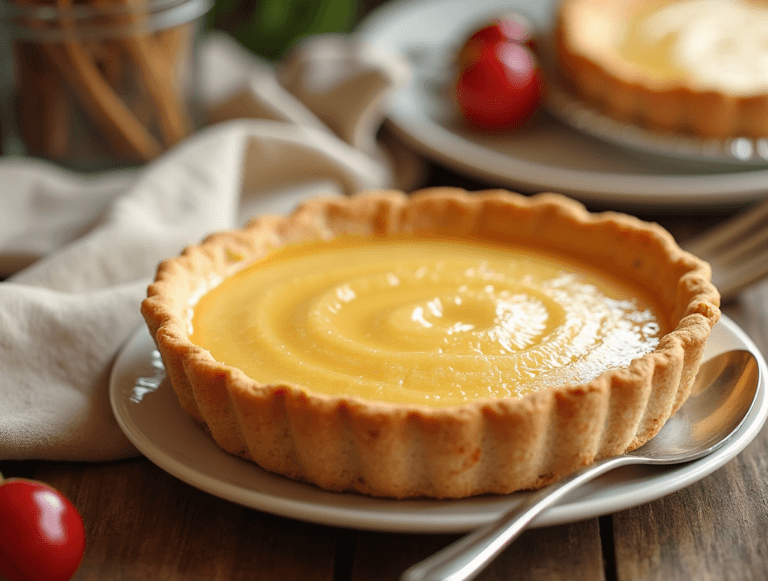
There’s more to pineapple pie than the classic version. Discover a world of island flavors and fruit tart mixes that will excite your taste buds.
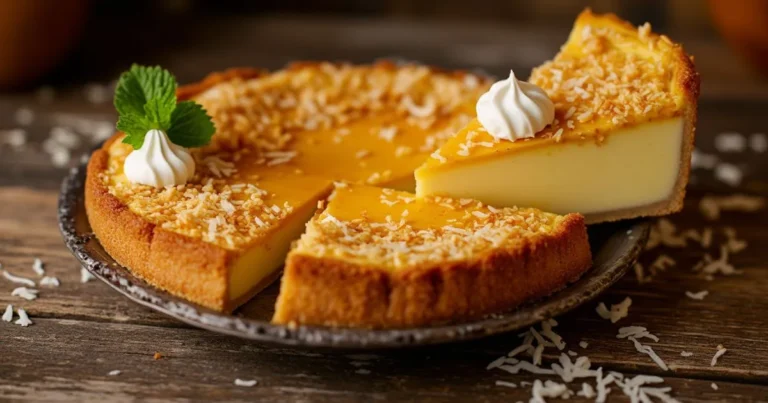
The Coconut Pineapple Pie is a tasty twist. It combines pineapple’s sweetness with coconut’s creamy richness. Add a hint of coconut oil or toasted flakes to the crust for extra tropical flavor.
Mango Pineapple Pie is another must-try. It mixes mango’s juicy sweetness with pineapple’s tanginess. This fruit tart captures the essence of the tropics.
For a bold move, try a Pineapple Lime Pie. It blends pineapple’s tropical taste with lime’s zesty citrus. This pie offers a refreshing twist on the classic.
Don’t shy away from seasonal and local fruits. A Pineapple and Papaya Pie, for example, pairs pineapple with creamy papaya. It’s a unique island flavors adventure.
Reinventing pineapple pie is all about exploring new flavors and textures. Whether you stick to the classic or go for a tropical twist, the goal is to enjoy the vibrant tastes of the islands.
Conclusion
Congratulations on your journey to making the perfect homemade pineapple pie! You’ve learned how to pick the freshest pineapple and make a lattice crust. Now, you can enjoy the joy of eating a slice you baked yourself.
Keep trying new things with pineapple pies. Mix the sweet filling with a flaky crust or add mango or coconut for a twist. There are so many ways to make your pie special.
Share your baking stories with friends and family. And don’t forget to post your delicious pies on social media. The pineapple pie community loves to see what you’re making. Happy baking!
FAQ
What is the history of pineapple pie in American cuisine?
Pineapple was first introduced to America through trade with the Caribbean and Hawaiian islands. It became popular in pies and tarts in the 19th and 20th centuries. This was because the fruit was becoming more common, and bakers loved its sweet and tangy taste.
Why is pineapple an exceptional choice for pie filling?
Pineapple’s mix of sweet and tangy flavors is perfect for pie fillings. Its juicy texture and bright color also match well with pie crust. The tropical taste adds a refreshing twist to traditional desserts.
What are the essential ingredients needed to make a pineapple pie from scratch?
To make a homemade pineapple pie, you need fresh pineapples, sugar, flour, butter, and spices like cinnamon or nutmeg. The right mix of these ingredients is key to a delicious pie filling.
What kitchen tools and equipment are required for making pineapple pie?
You’ll need a sharp knife, a cutting board, a mixing bowl, a rolling pin, and a pie dish. Optional tools include a food processor, a pastry blender, and a lattice cutter for the top crust.
How do I create a flaky, golden pie crust for my pineapple pie?
Mix flour, butter, and a bit of water or liquid to make the dough. Chill the dough and handle it gently to get a flaky, tender crust that goes well with the pineapple filling.
How do I select and prepare fresh pineapples for my pie?
Choose pineapples that are heavy, have a golden-yellow rind, and smell sweet. Avoid those with green or brown spots. Remove the rind and eyes, then cut the pineapple into slices or chunks for your pie filling.
What steps should I follow to create the perfect pineapple pie filling?
Mix fresh pineapple chunks, sugar, flour, and spices like cinnamon or vanilla for the filling. Cook it until it’s the right consistency, then cool it before filling the pie.
How do I create a beautiful lattice top crust for my pineapple pie?
To make a lattice top crust, roll out the dough and cut it into thin strips. Place them in a criss-cross pattern over the pie. Crimp the edges and trim any excess dough for a decorative touch.
What baking temperature and timing guidelines should I follow for a perfect pineapple pie?
Bake the pie at 400°F (200°C) for 20-25 minutes, until the crust is golden. Then, lower the temperature to 350°F (175°C) and bake for another 30-40 minutes. This ensures the filling bubbles and the crust is fully cooked.
How can I troubleshoot common issues with pineapple pie, such as a soggy bottom or runny filling?
To avoid a soggy bottom, blind bake the pie shell before adding the filling. For a runny filling, thicken it with flour or cornstarch. Drain excess juice from the pineapple before adding it. If the filling is still too loose, bake the pie a bit longer to evaporate the juices.
How should I store and serve my homemade pineapple pie?
Let the pie cool completely before storing. You can keep it at room temperature for up to 2 days or refrigerate it for up to 4 days. Warm the pie slices in the oven or microwave before serving. Serve with vanilla ice cream or whipped cream for a special treat.

