Pie Crust Basics: Everything You Need to Know
As a child, I loved the smell of pies baking in my grandmother’s kitchen. The flaky crust and sweet filling were amazing. This sparked my love for pie making, a tradition passed down through generations.
Today, I’m excited to share pie crust secrets with you. This skill will make your baking better and bring happiness to your family.
In this guide, you’ll learn the science of flaky pie crust. You’ll master key techniques and solve common problems. Whether you’re new to baking or experienced, you’ll make pies that impress everyone.
Table of Contents
Key Takeaways
- Understand the fundamental science behind flaky pie crust
- Discover the essential ingredients and their roles
- Learn temperature control techniques for optimal results
- Identify the right tools and equipment for successful pie making
- Avoid common mistakes that can ruin your pie crust
Understanding the Fundamentals of Pie Crust
Making a flaky, buttery pie crust is an art. It needs a deep understanding of baking science. Every step, from mixing ingredients to controlling temperature, is key to a perfect pastry.
The Science Behind Perfect Flakiness
The secret to flaky pie crust is in the fat. Butter or shortening, when chilled and mixed right, creates steam pockets. These pockets make the dough layers separate, giving you that flaky texture.
Essential Ingredients and Their Roles
The main ingredients in pie crust are flour, fat, and liquid. Flour gives structure, fat makes it flaky, and liquid holds it together. The type and amount of each affects the crust’s final look and taste.
Temperature Control Basics
- Keeping the butter crusts and dough cold is key. It keeps the fat solid for flaky layers.
- Right temperature in baking is also crucial. It helps the dough puff up and get golden.
Learning the basics of pie crust making is the first step. It leads to creating flaky pastries that wow your guests and satisfy their taste buds.
Essential Tools and Equipment for Pie Making
Making the perfect pie crust needs the right tools. You’ll need a good rolling pin and a versatile pastry cutter. Each tool is key to making your homemade pies stand out. Let’s look at the must-have items for pie making.
The Rolling Pin: A Baker’s Best Friend
The rolling pin is vital for pie crust prep. Pick a high-quality, balanced rolling pin for even dough distribution. Wooden or marble rolling pins are top picks, each with its own benefits for pie making.
The Pastry Cutter: Blending Ingredients with Ease
A pastry cutter is crucial for mixing fats into flour. Its sharp blades cut ingredients into pea-sized pieces for flakiness.
Pie Dishes: The Foundation of Your Masterpiece
Choosing the right pie crust dish is key for the perfect shape and size. You can pick from glass, ceramic, tart, or quiche tins. Think about depth, material, and look to find the ideal dish for your creations.
Additional Essentials
- Bench scraper: Helps to evenly divide and transfer dough.
- Parchment paper: Prevents sticking and eases dough handling.
- Pastry brush: Allows for even egg washes or butter glazes.
- Cooling racks: Ensures even cooling and prevents soggy bottoms.
With these baking techniques and tools, you’re ready to master pie crust making. Enjoy the hands-on baking and let your pies shine.
Choosing the Right Ingredients for Your Pie Crust
Making the perfect pie crust is an art. It starts with picking the right ingredients. The type of flour and fat you choose are key. They help create a flaky texture and a buttery flavor.
Types of Flour and Their Effects
The base of a great pie crust is the flour. While all-purpose flour is common, trying different types can open new doors. Pastry flour makes a crust that’s tender and delicate. Bread flour gives a chewier texture. Mix different flours to get the perfect crust for your pie.
Fats: Butter vs Shortening vs Lard
Fat is crucial in pie. Butter adds a rich flavor and a flaky texture. Shortening makes the crust tender and consistent. Lard is the best for flakiness. Choose based on your pie’s flavor and texture.
The Role of Salt and Sugar
Salt and sugar are more than just simple additions. They enhance the flavor and texture of your pie crust. Salt balances sweetness and helps with structure. Sugar caramelizes, adding sweetness and a golden crust.
“The secret to a perfect pie crust lies in the careful selection and balance of its ingredients.”
Step-by-Step Guide to Making Perfect Pie Crust
Making a perfect pie crust is key to delicious pastry recipes. It’s a skill that’s worth learning, whether you’re new to baking techniques or experienced. Follow these steps to make a crust that’s tender and flaky, perfect for your homemade pies.
Mixing the Dough
Start by mixing dry ingredients like flour, salt, and sugar in a big bowl. Use a pastry blender or your hands to mix in cold butter or shortening until it looks like coarse crumbs. This step is important for the crust’s flaky texture.
Chilling the Dough
Add cold water slowly, a tablespoon at a time, until the dough starts to stick together. Don’t overwork it, as this can make the crust tough. Shape the dough into a disk, wrap it in plastic, and chill it for at least 30 minutes (or up to 3 days) before rolling.
Rolling and Shaping the Dough
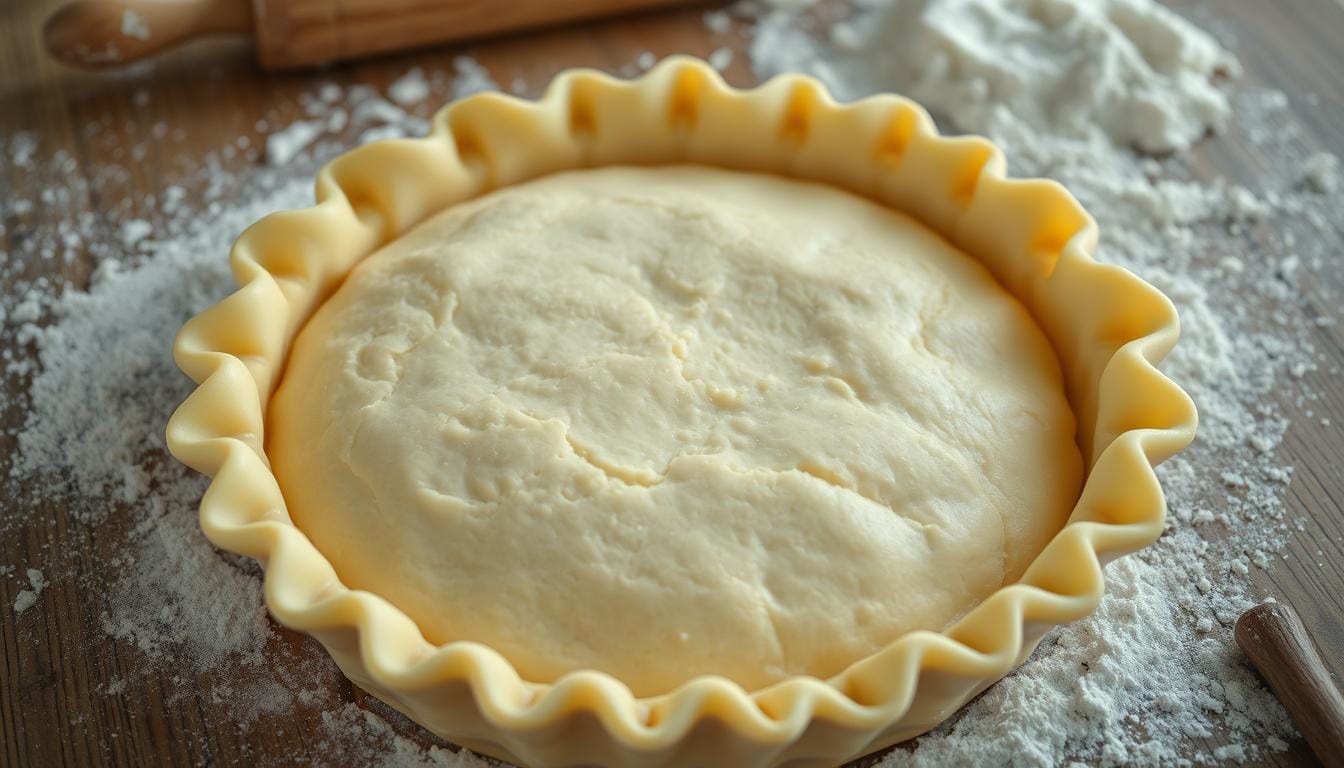
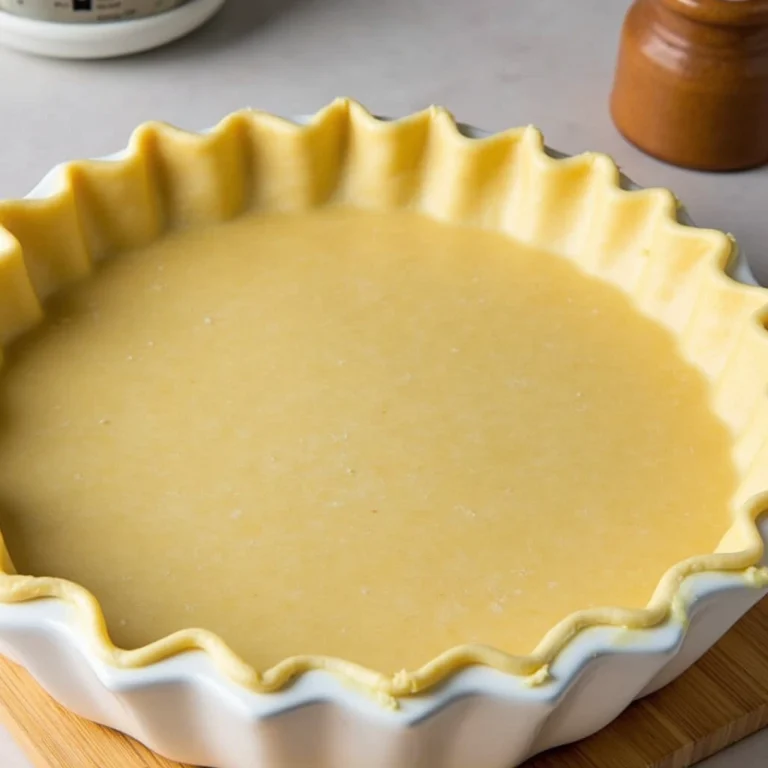
Roll out the chilled dough on a floured surface into a circle bigger than your pie dish. Place the dough in the dish, pressing it into the corners and sides. Trim the edges, leaving a 1-inch overhang. Fold the overhang under and crimp the edges with your fingers or a fork.
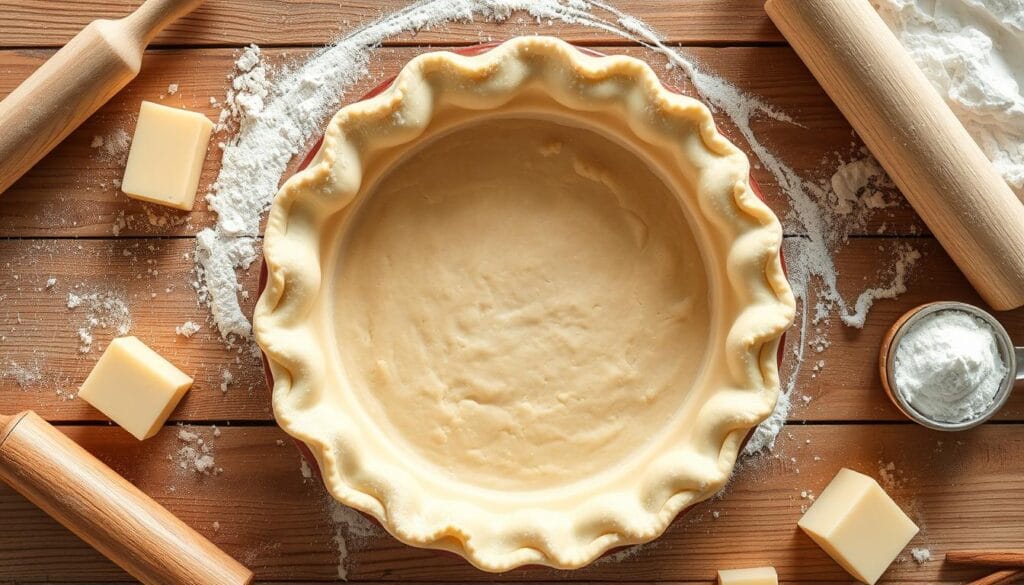
For a perfect pie crust, work fast, keep ingredients cold, and don’t overwork the dough. With practice, you’ll make crusts that are flaky and delicious, impressing everyone.
Common Mistakes to Avoid When Making Pie Crust
Making the perfect Perfect crust is a delicate task. Even skilled bakers can run into problems. We’ll look at common mistakes to avoid for flaky, buttery pie crusts.
Overworking the Dough
One big mistake is overworking the dough. This can make the crust tough and chewy instead of flaky and tender. To avoid this, mix and handle the dough gently. Work fast to keep the butter crusts cool.
Temperature-Related Issues
Temperature control is key for crust baking. If the dough is too warm, the butter melts, making the crust greasy. If it’s too cold, it can crack. Keep your ingredients and work surface chilled and work quickly.
Improper Rolling Techniques
How you roll out the dough affects the crust’s texture. Rolling it too thin makes it fragile, while too thick makes it dense. Roll gently on a floured surface to get the right flaky dough.
Knowing these common mistakes helps you avoid them. This way, you can bake perfect, flaky, and buttery crusts. Your pies will surely impress.
Advanced Techniques for Flaky Pastry
Making the perfect flaky crust is an art. There are advanced techniques to improve your baking. Whether you’re experienced or new, these methods can enhance your flaky dough and pastry recipes.
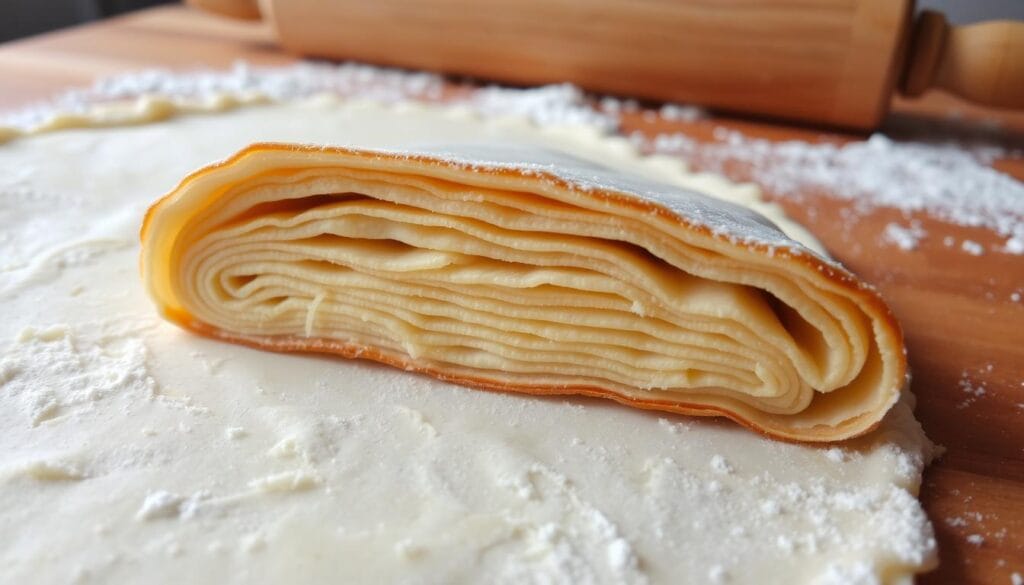
Lamination: The Key to Layers
Lamination involves folding and rolling the dough to create layers. This traps butter or fat, making the crust flaky and delicate. It takes practice, but the results are worth it.
Fraisage: Harnessing the Power of Friction
Fraisage uses your palms’ warmth to shape the dough. It makes the crust tender and pliable. This technique is great for flaky pastries.
| Technique | Description | Best for |
|---|---|---|
| Lamination | Folding and rolling the dough to create distinct layers | Flaky, delicate crusts |
| Fraisage | Pressing and smearing the dough to develop the gluten structure | Tender, flaky pastries |
Mastering these techniques takes time and effort. But, the results are amazing. With patience and detail, you can make your pastry recipes even better.
Decorative Edges and Design Elements
The crust of a pie is more than just a base. It’s a canvas for creativity, turning simple pastry recipes into stunning works of art. You can use classic crimping or intricate lattice patterns to make your pie crust stand out.
Classic Crimping Methods
Crimping is a timeless way to decorate a pie crust. It involves pinching and folding the dough to create a beautiful edge. You can choose from several crimping methods, each adding its own touch of elegance to your pies.
Creative Lattice Patterns
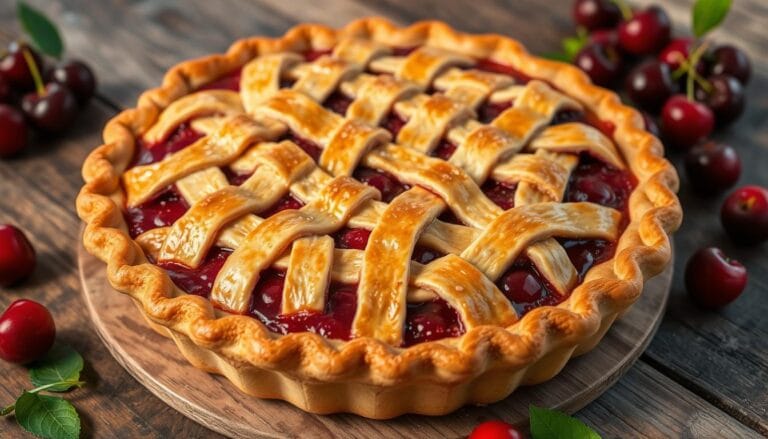
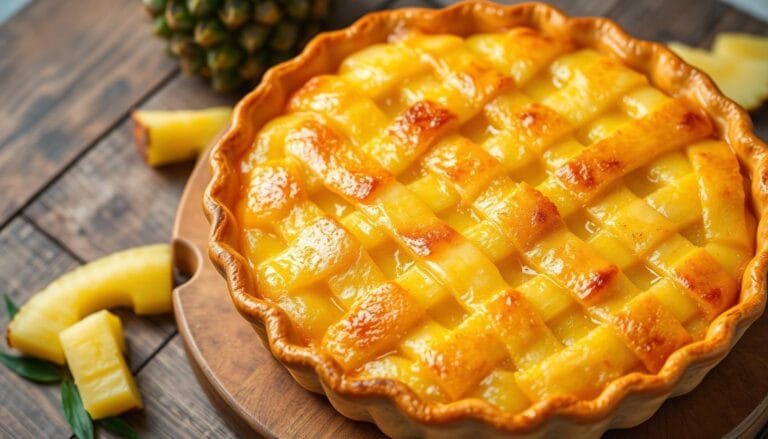
For a more detailed design, try a lattice-topped pie crust. This method weaves dough strips into a crisscross pattern. It may seem hard at first, but with practice, you can create amazing lattice designs. Play with different widths and colors to make your crust unique.
Seasonal Decorative Touches
- Add fresh herbs, citrus zests, or edible flowers to your pie crust for a whimsical touch.
- Use cookie cutters or a sharp knife to cut out shapes like leaves or hearts for your pie’s top.
- Brush the crust with egg wash or milk for shine, then sprinkle with sugar or cinnamon for sparkle.
Mastering decorative pie crusts can turn a simple dessert into a showstopper. Try different techniques to create memorable pie crust, pastry recipes, and baking techniques.
Storage and Make-Ahead Tips
Keeping your homemade pie crust fresh and flaky is key to baking success. These tips will help you keep your flaky dough in top shape, whether you’re planning ahead or storing leftovers.
For convenience, try par-baking your pie crust before adding filling. This saves time on baking day. Just follow your recipe for par-baking, let it cool, and then store it in an airtight container. It can stay in the fridge for up to 3 days or in the freezer for 2 months.
Got extra pie crust dough? Wrap it tightly in plastic wrap or use a resealable bag. Store it in the fridge for 3 days or freeze for 3 months. Thaw it in the fridge overnight before rolling it out. This makes your baking process easier and quicker, without losing the quality of your pie crust.
FAQ
What are the essential ingredients for making a flaky pie crust?
To make a flaky pie crust, you need flour, fat (like butter or shortening), and cold water. How you mix these ingredients is key to getting it right.
How do I ensure my pie crust doesn’t become tough or soggy?
To avoid a tough or soggy crust, don’t overwork the dough. Keep it cold and chill the dough before rolling. Par-baking the crust also helps.
What’s the difference between using butter and shortening in pie crust?
Butter makes the crust taste rich and flaky. Shortening makes it tender but less flavorful. Your choice depends on the pie and your taste.
How do I make a decorative edge for my pie crust?
You can crimp, flute, or scallop your pie crust edges. Trying different techniques can make your pies look professional.
Can I make my pie crust ahead of time?
Yes, you can make pie crust ahead. Unbaked dough can be frozen for months. Par-baked crusts keep in the fridge for a week. This makes baking pies easier.

